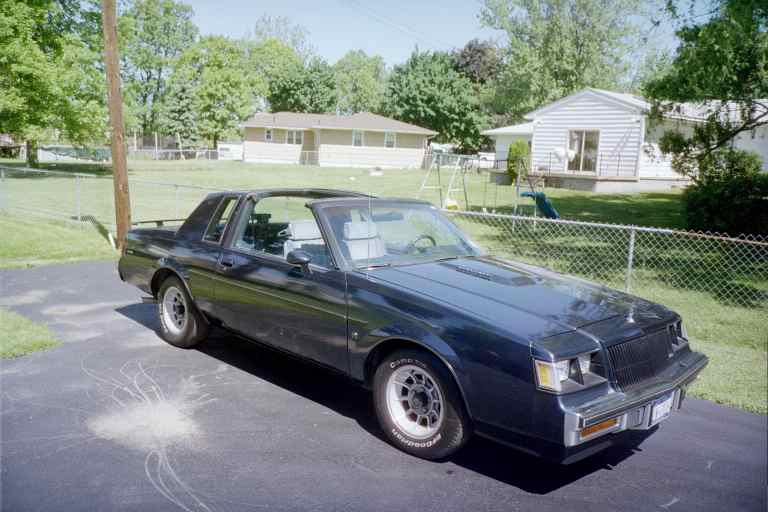
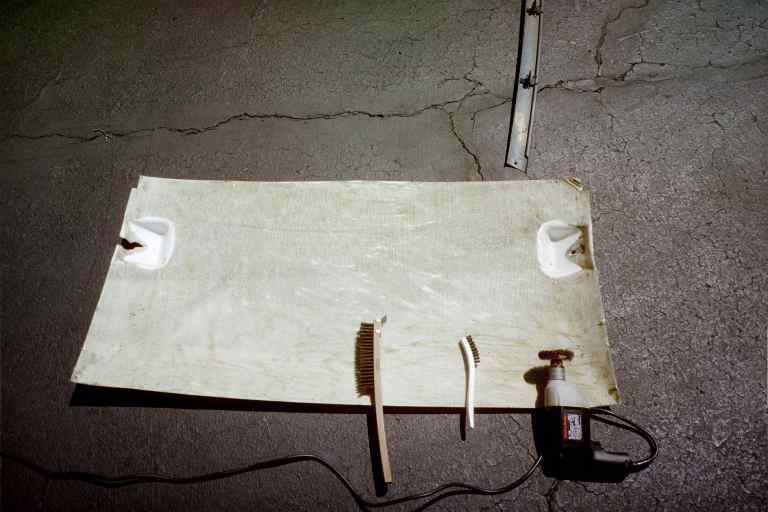
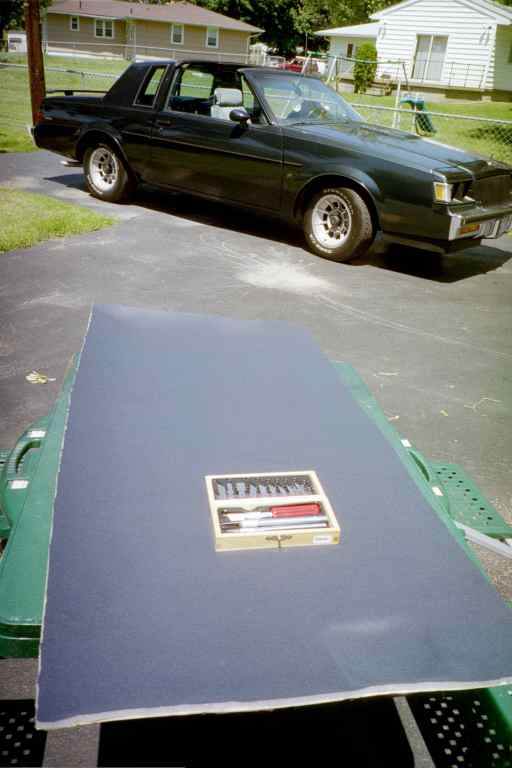
My headliner fell during a hot muggy day. I debated hiring the job out but decided to give it a try. This is on an 87 dark blue T with blue interior and T-Tops. I ordered the already connected foam and material from Jax Seat Covers It was a perfect match for the original. The tools needed are screwdrivers, wrenchs, pliers, a wire brush that attaches to a drill, and a torx wrench (not sure if the torx screw was original). Also a SAR's style mask, safety glasses, exacto knife or razer blade, and headliner glue. Knowing your finances will help you plan a time when is best for you in case there is an item on the list you don't have so you aren't dipping into your personal budget at the time of your repairs.
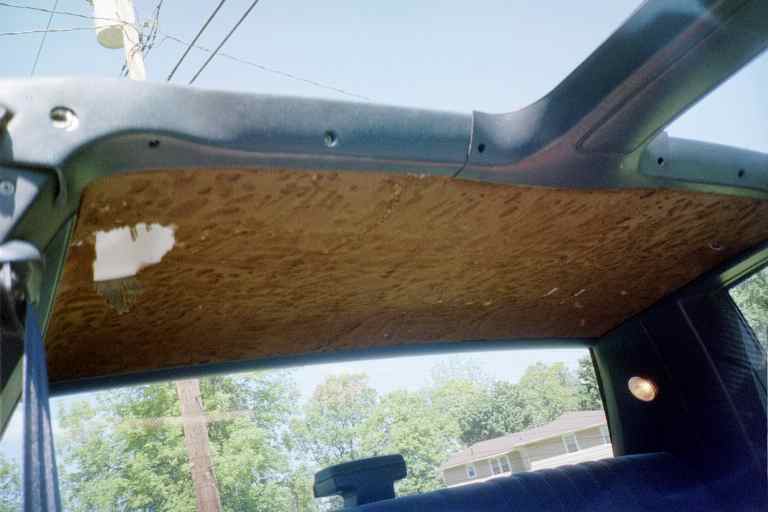
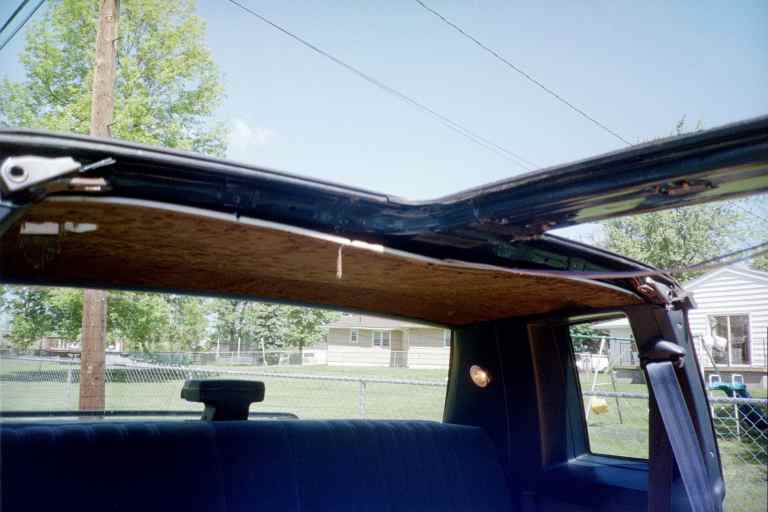
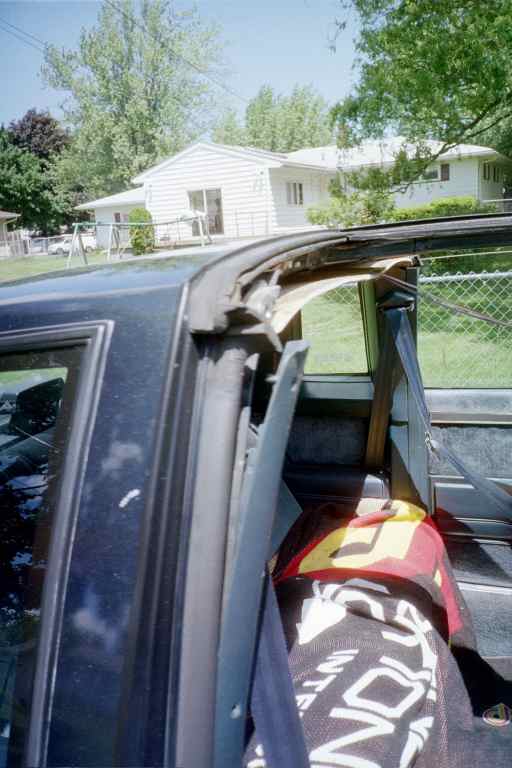
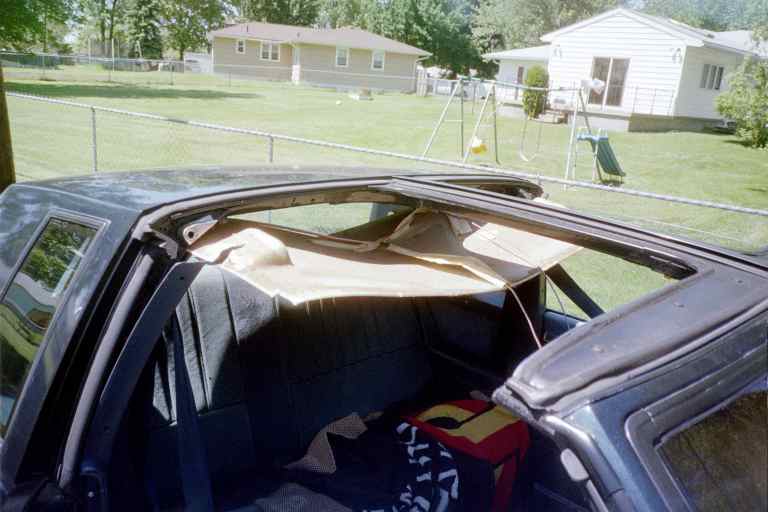
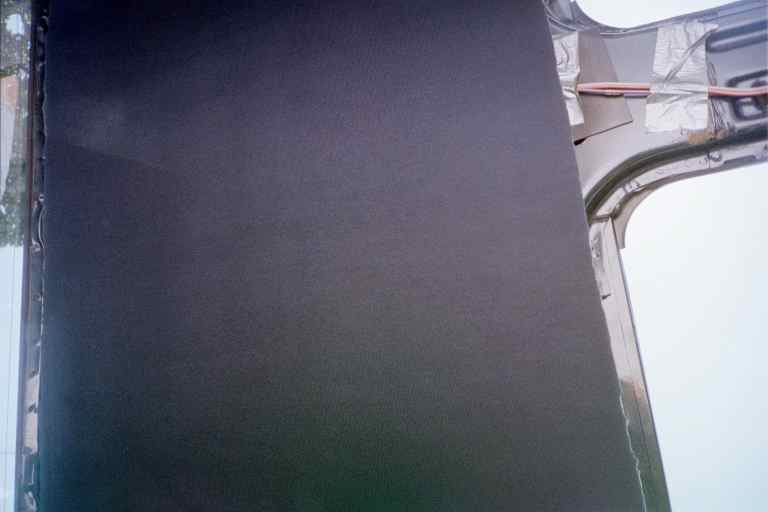
Start by taking off the T-Tops and laying a blanket over your interior. Remove the two side pieces that go between the T-Tops and headliner. This exposes two small pieces near the windows that looked like they would be in the way of sliding the old headliner out so those were also removed. The piece between the T-Tops, and the part near the windshield were also removed as were the two coat hooks. The back trim piece between the window and headliner was removed by removing the screws, prying on the piece enough to expose 3 black clips that you squeeze with pliers to remove. The old headliner was pulled out gently to avoid breakage by where the T-Tops meet the headliner. After an inch or 2 of sliding the curve of the headliner near the coat hooks catches so I pushed down on that while sliding. Headliner trim clips numbers: Au-ve-co. Front clips #18398 (200588371) Rear clips #18399 (20095324)
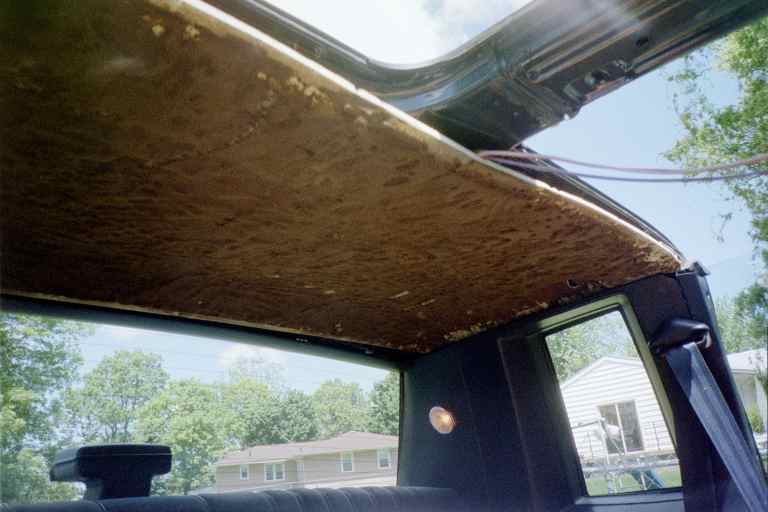
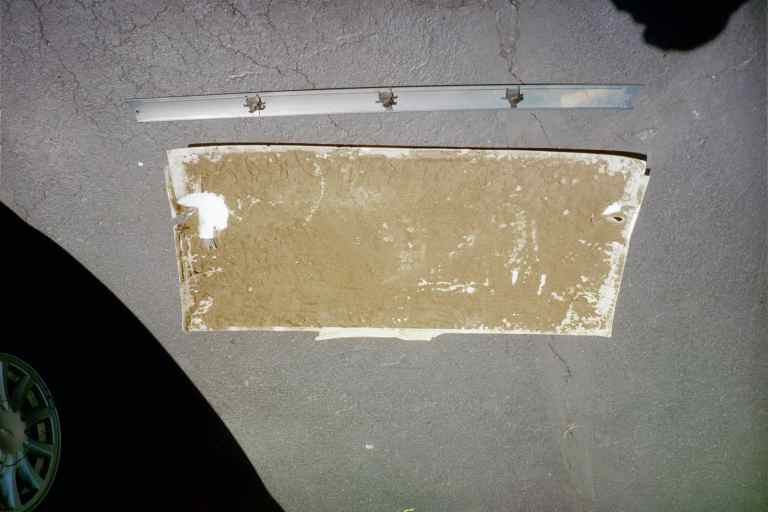
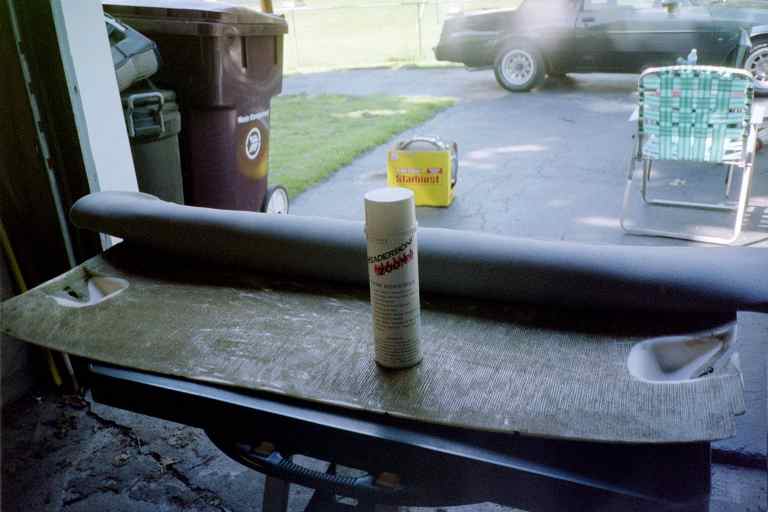
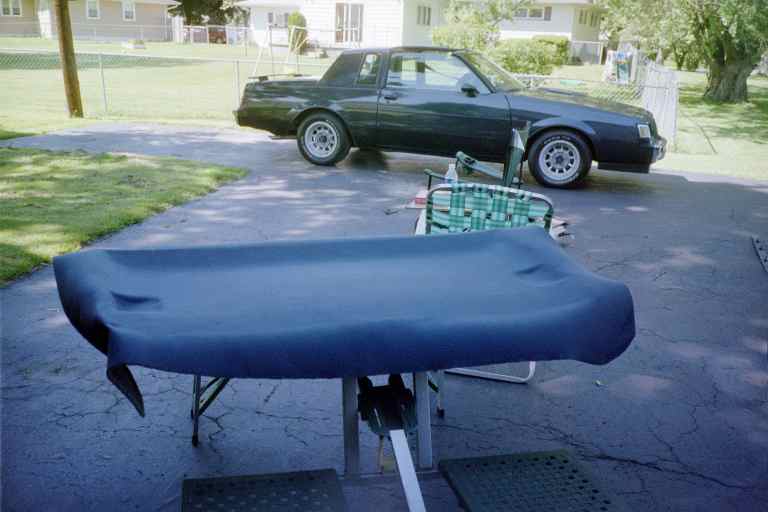
The wire brush that attaches to a drill cleaned up the old foam (that hadn't already fallen off) off the styrofoam and then sandpaper, followed by a wipe down. If needed fix and repair cracks (mine did not look too bad). The new foam and matrial were centered on the styrofoam and then folded in half. One side of the styrofoam and foam were sprayed with headliner glue. Then the foam and material were pressed down on the styrofoam. Repeat for the other side and let dry. I checked and found 2 small corners where the glue didn't take so those were redone. The exacto knife was used to trim off the excess material.
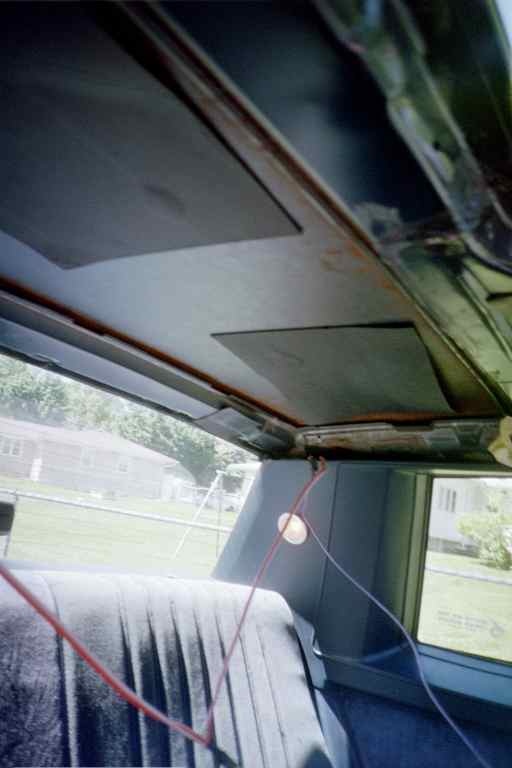
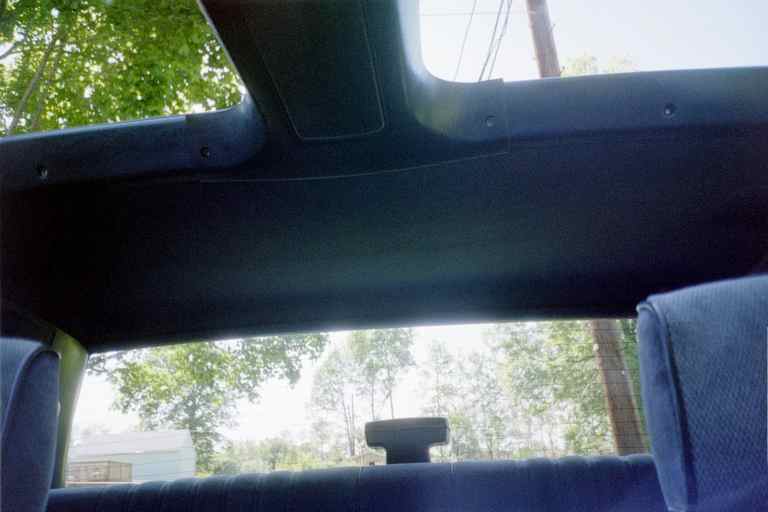
This was a matter of reversing the steps to get the old one out. First I re-taped all the electrical wires that were now just hanging. Be careful re-installing the back molding or it will leave scraches. Of course vacuum and clean up the interior and crack open a cold one!
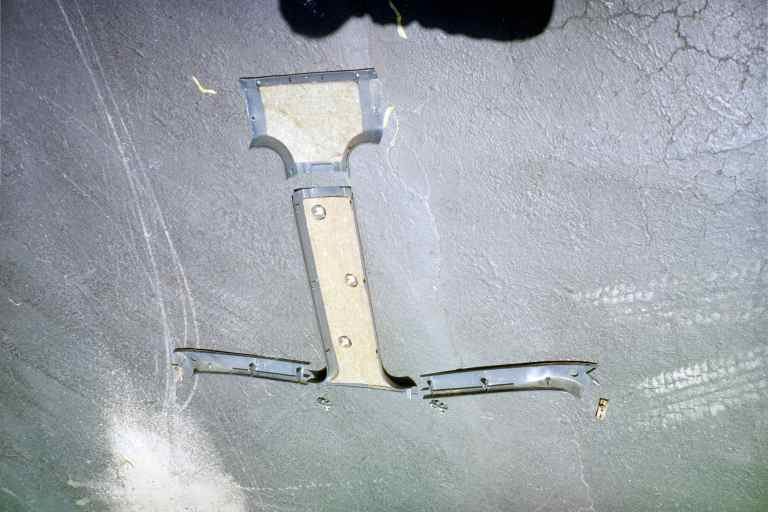
I did not do this but looking at ny two other turbo Regals. You would have to remove the dome light and sunvisors also. You would also have to disconnect the vanity mirror if you have one. The longer board would be tricky to get out the car.
